PRODUCT RANGE
D Series Static Non-Glue Film

P Series
|

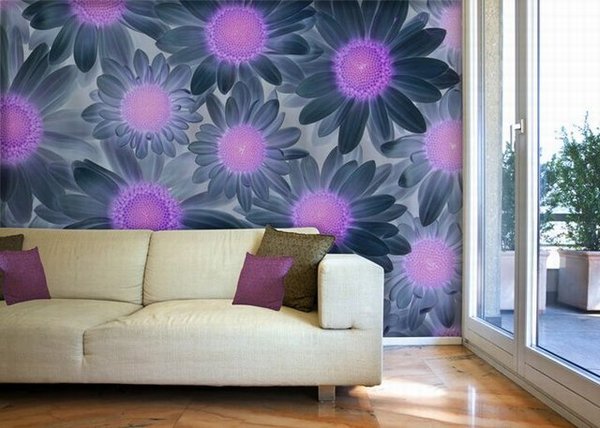
E Designer Series

E Corporate Series
|

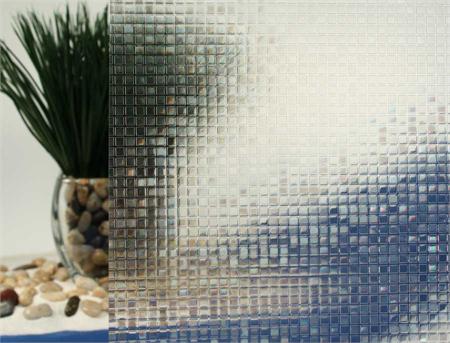
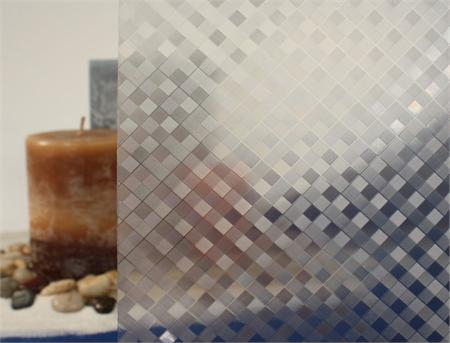
B Embossed-Frosted Series

W Series
|
D Series
P Series

B Embossed Series
|
E Corporate Series

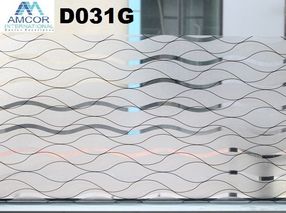
Sun Control Series

One Way Series
|

E Designer Series

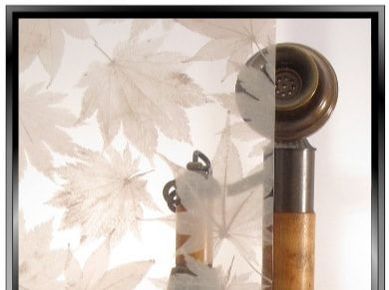
Specialty Series

W Series
|

B Embossed Series
|

D Series Static Series
|

E Printed Series
|

F Satin Series
|
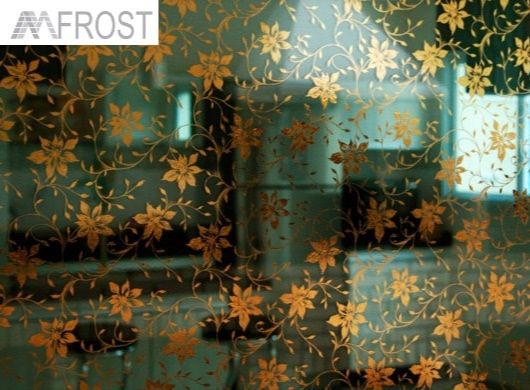
G Golden Series
|
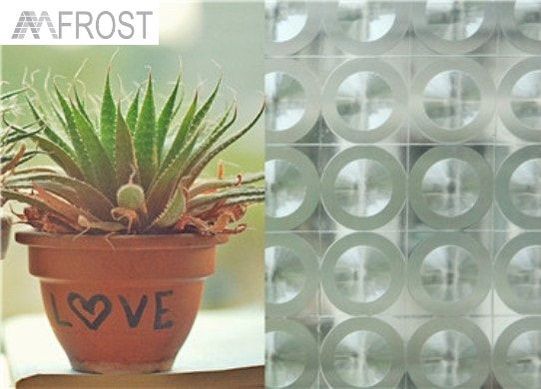
L 3D Lens Series
|
R Royal Series
|

S Silver Series
|

W Wooden Series
|
D Series Static Gum 3D Series

MT Metallic Series
|

E Decorative Series

OCP Optically Clear Printing
|

Embossed Series

S Sparkle Frosted Series
|
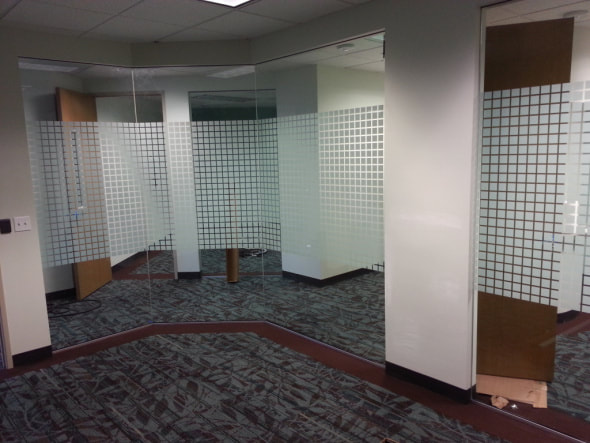
INSTALLATION GALLERY
INSTALLATION GUIDE
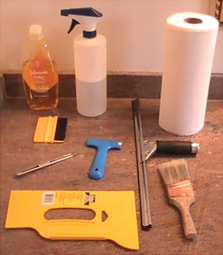
RECOMMENDED TOOLS
- A film aid application concentrate (or no-tears baby shampoo)
- Bottled water (not tap water)
- Spray bottle
- Squeegee
- Break-away utility knife (for cutting film)
- Single-edged razor blade (for cleaning glass)
- Ruler or tape measure
- Soft, lint-free cloth or paper coffee filters (for cleaning the glass and film)
BEFORE YOU BEGIN
Residential window films are applied directly to the inside glass surface you can touch inside your home. If you have a removable storm pane, you may remove it and apply the film to the inside surface of the outermost window, then remount the storm pane. Applying window film is a simple process, with only a few basic steps. However, patience and preparation are very important. Before beginning this project, please read the instructions completely and carefully, perhaps using a small piece of film to practice the steps before you actually tint a window. Many first-time users feel more confident after tinting a few, small windows. Start with smaller windows before applying film to larger windows, such as patio doors, which may require two people.
Preparation
A) Fill a pump- or trigger-spray bottle with a soapy water solution: to 1qt. bottled water, add a bottle of a film aid concentrate (or 1/4 tsp of a no-tears baby shampoo without conditioner). Film Aid offers the best drying clarity and pH balance. Do not use hard tap water, which can leave spots under the film. VERY IMPORTANT: This soapy water solution (“the Solution”) will serve as a lubricant for the squeegee during glass cleaning, film application, and future cleaning. CAUTION: Do not use any household glass cleaner containing ammonia or vinegar to clean the glass or film; such cleaners can dilute or dissolve the film’s adhesive. However, extremely greasy or smoke-covered windows may need to be cleaned first with glass cleaner then rinsed thoroughly with the Solution.
B) Plan to use several single-edge utility razor blades to clean the window. A small utility knife with breakaway blades is the best tool for trimming film. NOTE: Film can dull a blade edge quickly; and a dull blade can tear film. Plan to use a new blade after every 10’ of film that you cut.
C) A rubber-blade squeegee is necessary to press the film onto the window without creases and to remove the soapy water from under the film. We recommend a squeegee between 6” to 8” wide, preferably with a flexible blade and solid handle. A quality squeegee is a good investment because you will use it to clean the glass, apply the film, and clean the film in the future.
D) Use lint-free toweling (paper coffee filters work amazingly well!), not paper towels, to clean the windows and absorb squeegeed water. e. To trim the film (Step 8), use the edge of a ruler or a 50-cent coin or a dedicated wallpaper trimmer.
Special Points to Remember
- Handle the film very carefully. As with aluminum foil, once creased, the film will remain creased.
- Avoid using concentrated or degreasing detergents to make the Solution or the film may dry cloudy or fail to adhere.
- Larger windows (3-4’ wide) usually are best filmed by two people working together to remove the liner, install, and trim the film. (See steps 3 and 5)
- Apply film anytime other than in direct sunlight (film may stick too quickly) or freezing weather (film will not stick at all). Best temperature is 45-90 degrees F. Best time is early morning or late evening, when the glass is cooler.
- Work in a dust-free area. Turn off fans. Apply film to windows hung vertically. DO NOT lay windows down to tint them or you will trap air bubbles under the film.
- Film may be removed, but not reused.
1. Measure the Window
Measure the dimensions of your window carefully before unrolling and cutting the film. Film may be applied from side to side, or top to bottom from the kit roll. Use the measurement that leaves the least waste. You may also choose to pretrim the film to the window dimensions, less 1/16” on all sides (see steps 3 and 8 below).
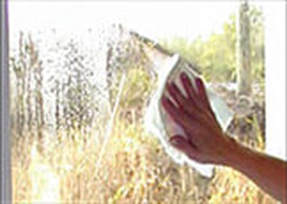
2. Clean the Window
Measure the dimensions of your window carefully before unrolling and cutting the film. Film may be applied from side to side, or top to bottom from the kit roll. Use the measurement that leaves the least waste. You may also choose to pretrim the film to the window dimensions, less 1/16” on all sides (see steps 3 and 8 below).
2. Clean the Window
1. Slight haziness and/or small water BubblesAfter the installation of window film , slight haziness and/or small water bubbles may be visible .It is very normal depending on the film type and weather conditions, it may take up to 30 days for the film to be fully cured. During the curing process the remaining water used in installation very slowly evaporates and the remaining haziness and/or water bubbles. Security films take the longest to dry and will take longer for any hazy appearance to disappear.
2. CleaningCleaning can be done once the film is dry and cured, which is normally 15 days. Make a solution of water and very little soap solution . Normally in 5 ltrs , one pouch of soap solution is used. Alternatively normal glass cleaners available in the market can be used. Caution : Avoid using hard object cleaner , Abrasive cleaners as it may damage the film's surface
DO NOT USE BRISTLE BRUSHES OR ANY OTHER MATERIAL THAT MIGHT SCRATCH THE SURFACE Some paper towels are coarse enough to scratch the film. Repeated use of improper cleaning implements and/or solutions will damage the appearance of the Film.
CAUTION! DO NOT USE AMMONIA OR VINEGAR OR ANY PRODUCTS CONTAINING AMMONIA OR VINEGAR TO CLEAN THE WINDOW.
